
For awhile, I've loved the look of the nailhead-trimmed, burlap covered corkboard offered by Ballard. I have several Ballard things and love them all, so by no means am I hating on them! The burlap corkboard was just more than I wanted to pay, especially not having a specific place in mind for where I wanted to hang it. After seeing a few Pinterest DIYs, I figured I could do this myself!
I had a plain corkboard in an upstairs closet that I wasn't using and a lot of burlap fabric just waiting for some project! This meant I needed a staple gun and some upholstery tacks. I also needed some additional cork for the board.
I did a poor job of taking photos as I went along (especially in the beginning), but I'll try to explain my process!
Let me first say, I know this is not an awesome "DIY" post by any means! It's more "read the instructions" than "follow along with pics" which, as we all know, are far more helpful. I'm sharing, though, because I didn't really follow any DIYs to the letter...
Let me first say, I know this is not an awesome "DIY" post by any means! It's more "read the instructions" than "follow along with pics" which, as we all know, are far more helpful. I'm sharing, though, because I didn't really follow any DIYs to the letter...
I knew covering just the board (as-is) with burlap or the cork would cause the middle to sag (because of the wood frame). So, I found something build up the center making it flush with the wood frame. Using something I already had...I used a flattened Priority Mail box that I trimmed a bit. Whoop, free!
Once I had everything flush, I used a roll of cork to make a new cork surface.

This is from Amazon, but I got mine at Lowe's. Basically the same and the price was similar, if not a bit cheaper. Once I had the new cork applied and trimmed to size, it was time to bring out the burlap.
I laid out the burlap on the floor and laid the corkboard facedown to figure out the appropriate size. After I trimmed the piece I was going to use, I ironed the daylights out of it! Because burlap is so thick, I used the hottest setting on the iron, spraying the wrinkles with water before ironing.
Once I was satisfied, I again laid out the burlap on the floor, put the corkboard facedown, and pulled the edges back. I borrowed an electric staple gun from my coworker and enlisted TJ's help in pulling the burlap tight enough to the back of the board. I used a lot of staples...

Clearly I need to trim the burlap and apply the "no-fray" stuff I have...
Moving on now that the board is covered! Ta-da! (And now I put it away for a few days. I needed a break as this was not going as fast as I expected!)

Time to work on the trim!
I used these furniture nails from Lowes. They were 25 to a pack and only $1.30 each. You'll need more than one pack, but be careful when buying them to ensure they match fairly well. There were two completely different colors at Lowes that both said "brass."
 I thought this part would be easy. Wrong!
I used these furniture nails from Lowes. They were 25 to a pack and only $1.30 each. You'll need more than one pack, but be careful when buying them to ensure they match fairly well. There were two completely different colors at Lowes that both said "brass."
The wood frame beneath all the cork and burlap proved to be problematic when trying to add the trim. The upholstery tacks/furniture nails were very soft and kept bending when I tried to hammer them into the wood. So, I got a rubber mallet and used pliers to hold them in place, but the problems continued. I tried drilling tiny holes to get me started. People, I BROKE A DRILLBIT and it barely even worked! TJ suggested a slightly larger drillbit, and drilling a slightly smaller hole. This proved much more successful...
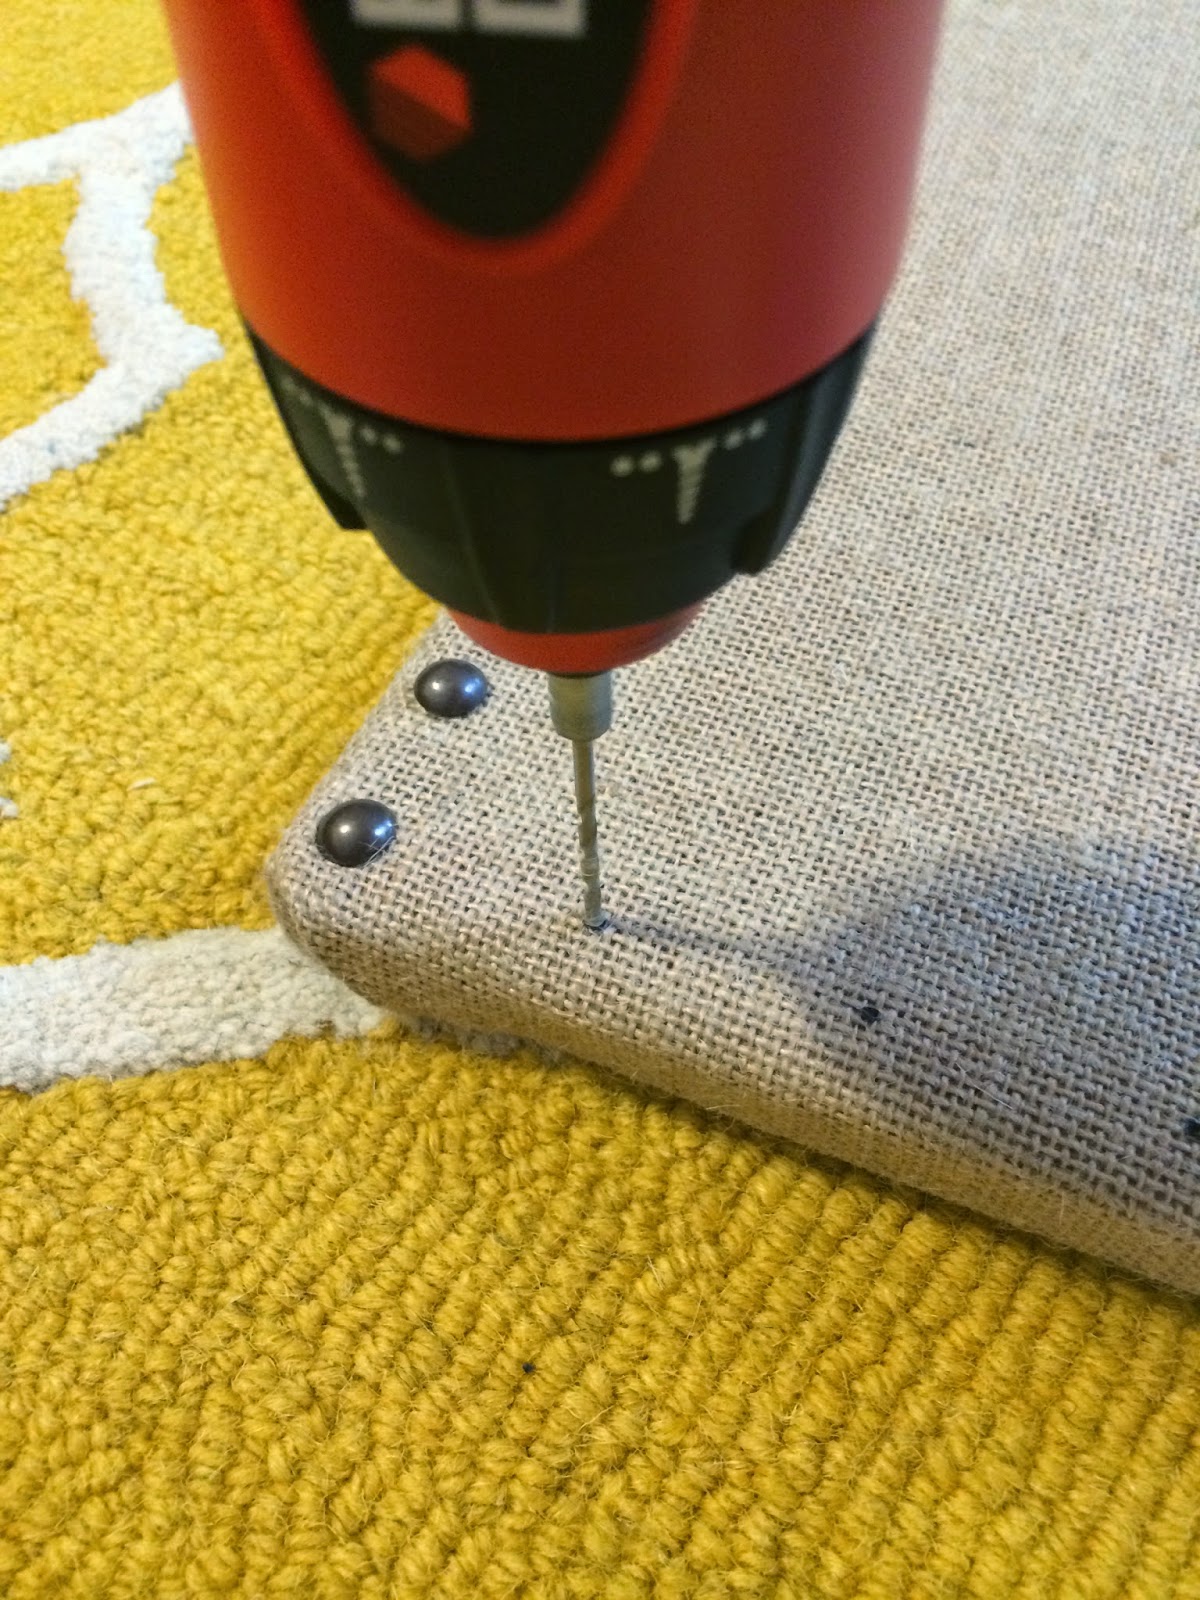
There were a couple times I drilled too deep and the tack ended up just bouncing out of the hole. That's where I recruited a little helper I like to call KRAGLE. That's a Lego movie reference for you...it was Krazy Glue :) It worked wonderfully!
End result...
ta-da!

Let me know if you try it out! Now I just have to decide where to put it :)


